How to install photoshop plugins
September 3, 2023Frequency separation is a highly effective technique within Photoshop that provides greater precision and control when it comes to retouching photographs.
While its primary purpose is to enhance the appearance of skin, this technique can also be applied to various other elements within an image. By utilizing frequency separation, photographers and designers are able to achieve refined and flawless results in their retouching work.
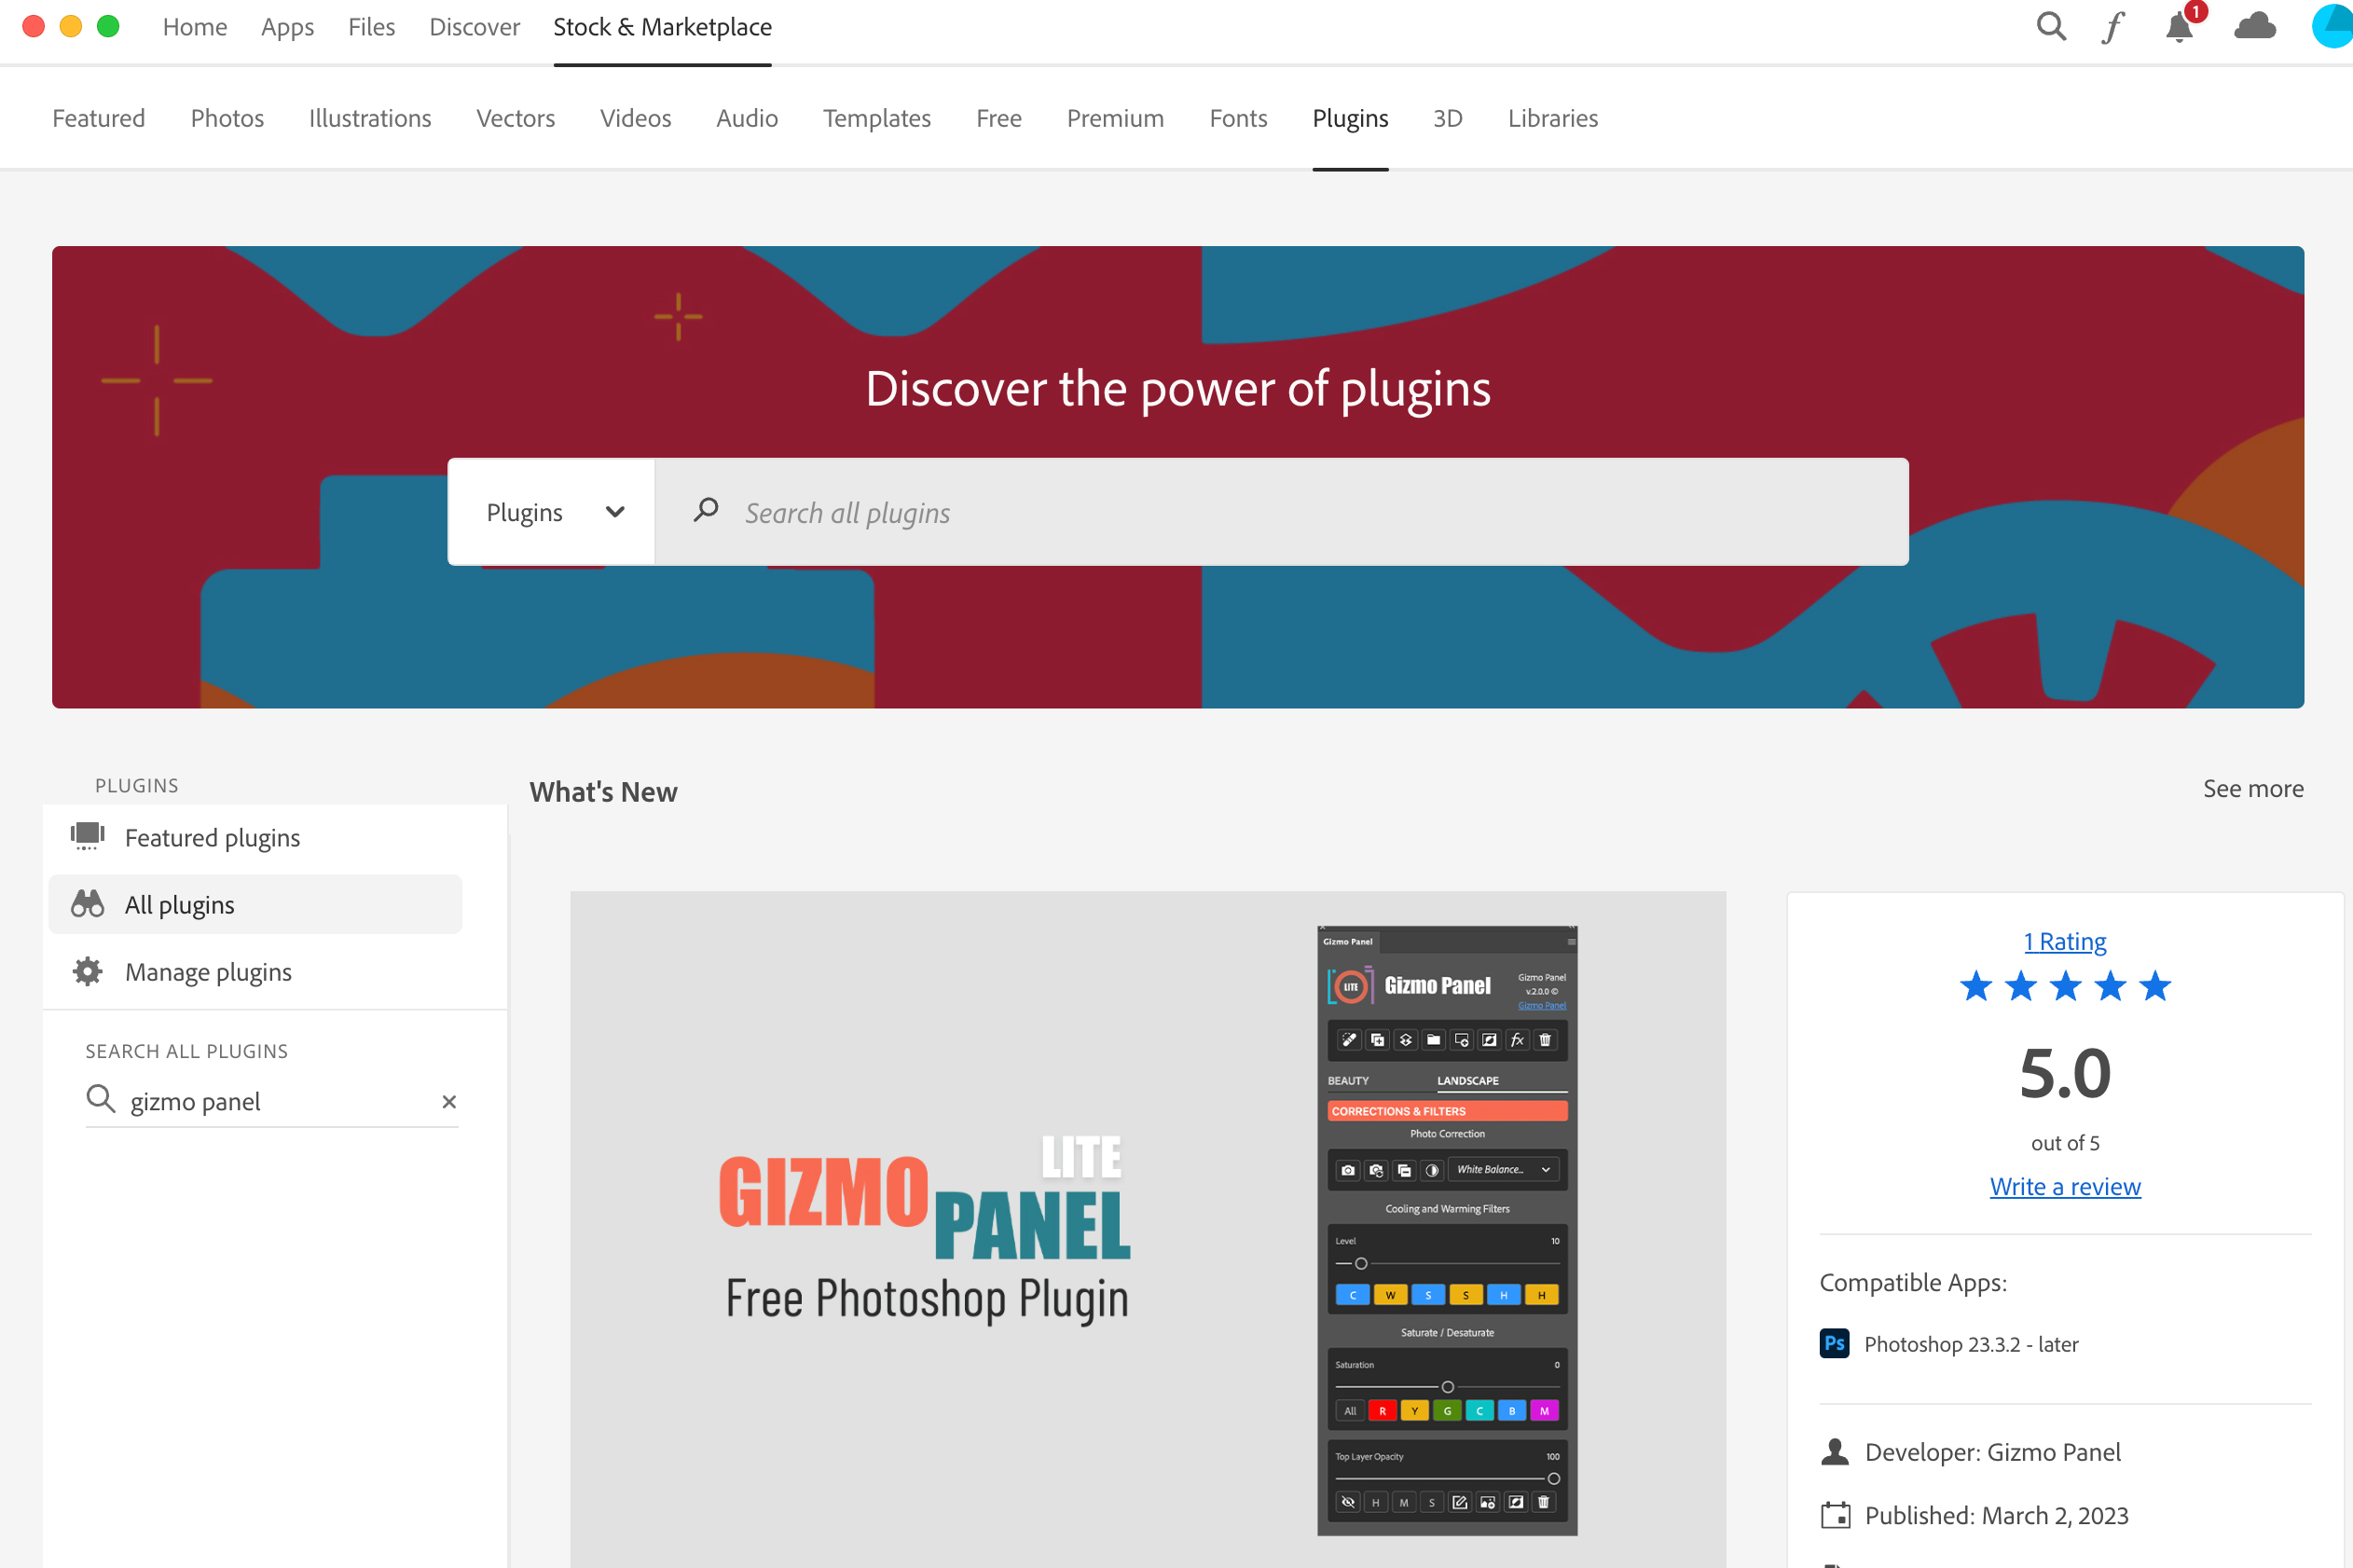
To perform Frequency Separation in Photoshop in the most efficient and user-friendly manner, we recommend using Gizmo Panel plugin. You can easily download the free version of Gizmo Panel Lite plugin from our website at https://gizmopanel.com/product/gizmo-panel-lite.
What Is Frequency Separation?
Frequency Separation technique involves separating an image into two layers, the high frequency layer and the low frequency layer.
The high frequency layer contains all the details of the skin, such as pores, wrinkles, and blemishes. The low frequency layer contains the overall tone and color of the skin. By retouching these two layers separately, you can achieve natural looking results without damaging the delicate structure of the skin.
Methods for Frequency Separation.
Gizmo Panel provides two methods for frequency separation: Median and Gaussian Blur. Choose a method to blur the Low Frequency layer:
- Gaussian (Default): this offers a smooth blur using a weighted average.
- Median: this blurs by broadening color regions; it retains edges better than Gaussian blur.
Determining the radius.

One way to find the appropriate radius is by using the Ruler Tool in Photoshop. With the Ruler Tool selected (shortcut key I), measure the distance between the chin and eyebrows on your image.
Then, look at the first two digits of the L1 value in the Ruler Panel and divide this number by 2. For instance, if the L1 value on your image is 1857.34, we will use the first two digits, which are 18. By dividing 18 by 2, you will obtain a radius of 9. By following this simple procedure, you can ensure that your Frequency Separation will be effective.

When changing the Radius parameter, it determines how blurry the image is going to get. The larger the radius, the blurrier the low-frequency layer becomes. This means that smaller details get shifted into higher frequencies.
Running Frequency Separation
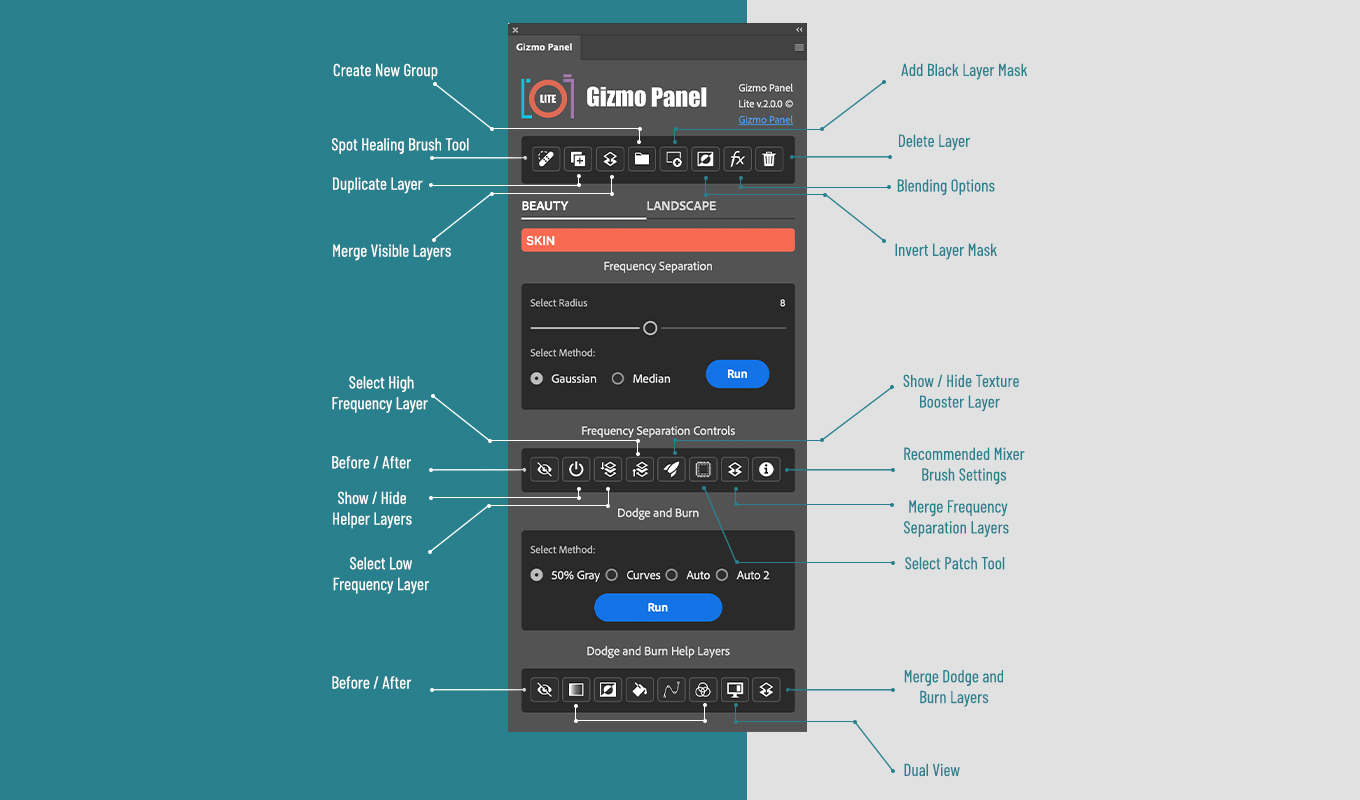
To perform frequency separation using the Gizmo Panel, begin by selecting the desired radius. Next, determine whether to apply a Gaussian or Median blur. Finally, click the Run button to initiate the process.

Frequency separation layers
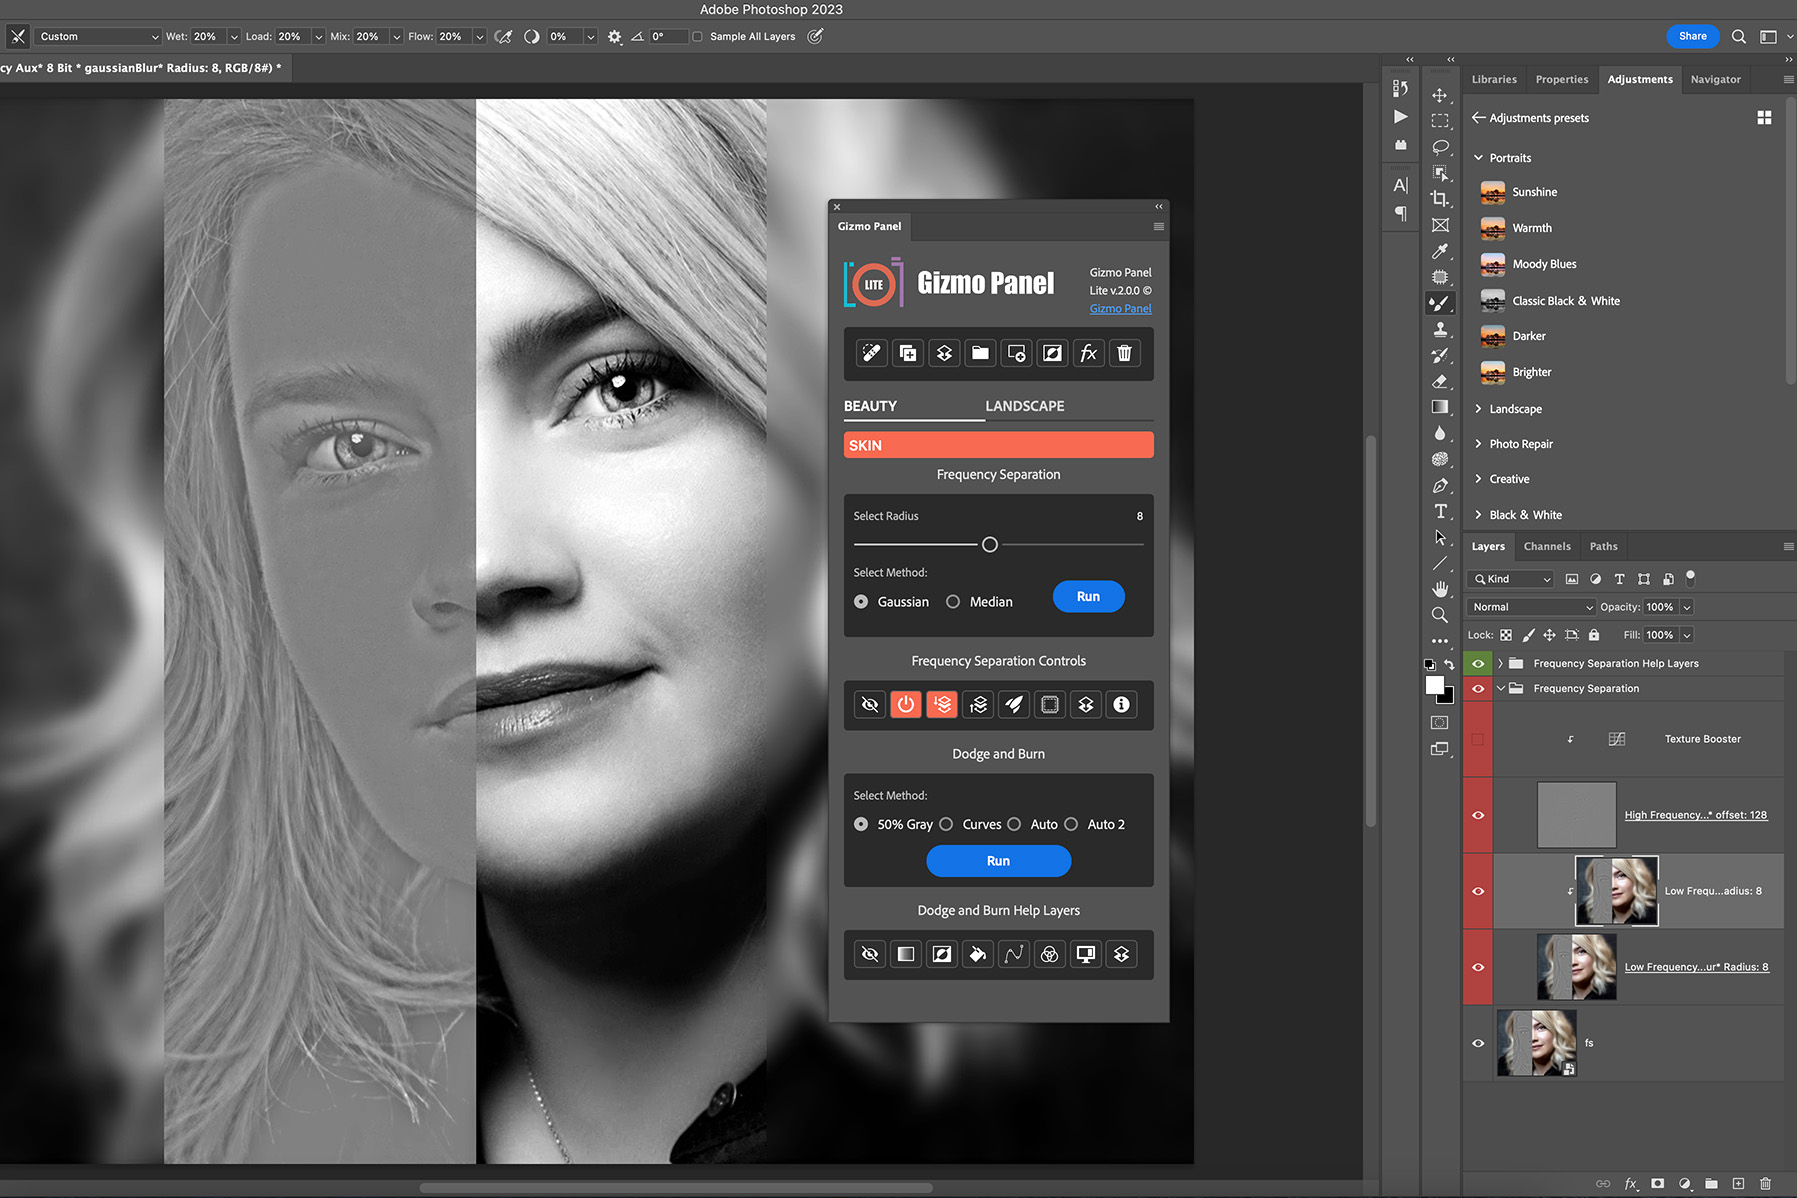
Gizmo Panel will create a number of layers to perform frequency separation techniques.
- Low Frequency (8 Bit or 16 Bit) * (gaussianBlur or median) * Radius: (from 1 to 16).
- Low Frequency Aux* (8 Bit or 16 Bit) * (gaussianBlur or median)* Radius: (from 1 to 16) - this is a duplicate layer. If you made an error on this layer, no worries! Just delete it and make a fresh copy of the bottom layer.
- High Frequency (8 Bit or 16 Bit) * Blending: (subtract or add) * offset: (0 or 128).
- Texture Booster - this layer temporarily enhances visual textures while maintaining the integrity of the retouched layer. This allows any texture-related issues to become more noticeable without affecting the retouched layer.
- Frequency Separation Help Layers

When using Gizmo Panel, it will intelligently assess whether the image is in 8 or 16 Bits per channel mode. Based on this assessment, it will then apply specific blending and offset parameters to ensure optimal layer creation for retouching purposes.
Using Frequency Separation
Frequency Separation Controls:

Before / After button - By using the Before/After button, you can conveniently toggle the visibility of frequency separation layers. This allows for a visual comparison of the impact that frequency separation has on your image.
Show / Hide Helper Layers - toggle the visibility of Black & White helper layers.
Perform the frequency separation technique by selecting the Low Frequency layer, which contains the overall tone and color of the skin.
Select a High Frequency layer that contains all the details of the skin, such as pores, wrinkles, and blemishes.
Show / Hide Texture Booster Layer.
Select Patch tool for removing blemishes and imperfections from the skin when applied to the High Frequency layer.
Merge Frequency Separation Layers - this will merge all frequency separation layers into one layer.
Recommended brush setting - The recommended brush setting for working on the Low Frequency Layer with the Mixer Brush tool.
Mixer Brush Tool
When clicking on the "Select Low Frequency Tone Layer" button, the Low Frequency Aux* layer will be automatically selected and paired with the Mixer Brush tool.
Recommended Settings for Mixer Brush Tool:

To adjust the brush impact, modify the Flow setting by increasing or decreasing it. Simply position the cursor over the desired color spot and, while holding down the left mouse button, begin making small movements. This will result in a gradual blending of color spots with the skin. By employing this technique, you can effectively smooth out low-frequency blemishes.
Clone Stamp Tool
By clicking on the "Select High Frequency Texture Layer" button, the High Frequency layer will be automatically selected along with the Clone Stamp tool.
Recommended Settings for Clone Stamp Tool:

To use the clone stamp, first select the area you want to clone. Then, holding down the Alt key on Windows or Option key on Mac, click on the area you want to clone from. Finally, release the Alt/Option key and click on the area you want to clone to. The clone stamp will copy the pixels from the first area to the second area.
The Hardness of the Clone Stamp brush should be set at 0-90%, and the Flow may vary from 10 to 40%.
Merge Frequency Separation Layers
Merge Frequency Separation Layers combine the frequency separation layers into a single layer, automatically disabling the booster and help layers. This command comes in handy when you're done retouching using the frequency separation method.

Get Gizmo Panel Lite Free plugin for Adobe Photoshop to access advanced functions for skin retouching, which include Frequency Separation and Dodge and Burn. Moreover, Gizmo Panel Lite provides an extensive array of tools to enrich color vibrancy.
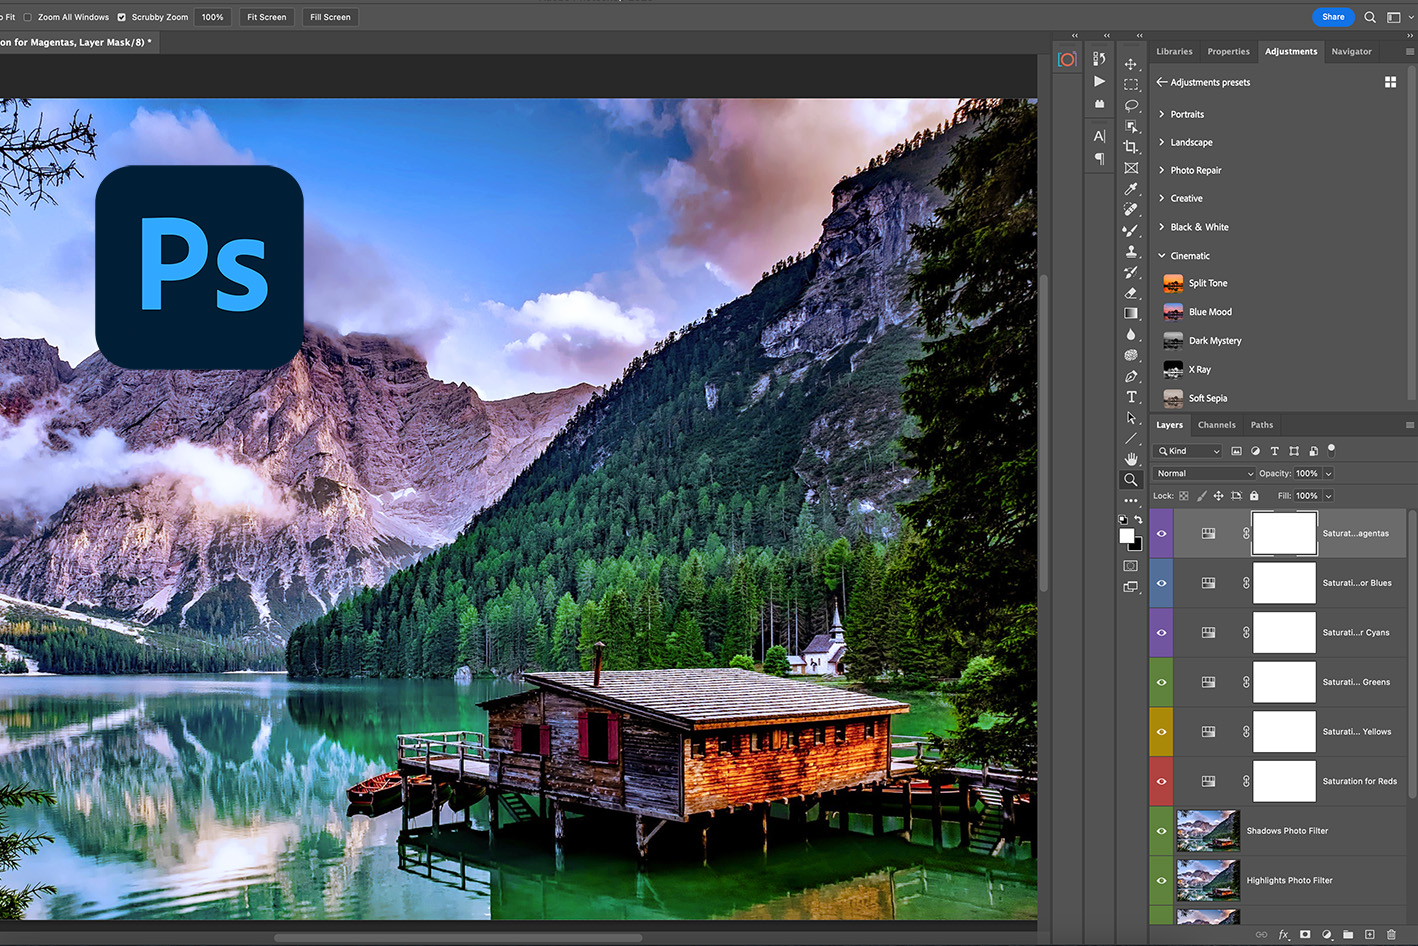
Effortlessly modify and harmonize color saturation, as well as meticulously adjust cooling and warming filters. Inspect images for any sensor dust spots and proceed with reducing noise. Implement automatic black and white point correction. Achieve automatic white balance adjustment.
Learn more from https://gizmopanel.com/lite/


